

No Equipment Beginner Abs Workout (At-Home!)

If you’re looking for a beginner ab workout to do at home, you’re in the right place. This quick, easy ab workout at home targets the upper abs, lower abs, and the core into an ab mat workout that is perfect to do at home, in the gym, or while traveling. This apartment-friendly beginner core workout features ab exercises that require no equipment! A common misconception, you do not need weights to get your strongest abs ever!
What are the Muscles of the Abs?
There are four main muscle groups to identify when discussing the abdominals:
rectus abdominis – This muscle is divided down the middle by the linea alba, which gives the abs that “six-pack” look that is often the inspiration for doing ab exercises. The rectus abdominus extends the length of the torso from the sternum to the pubic bone. It also important in flexion of the spine and bending side movements, as well as increasing intra-abdominal pressure (important for processes such as forced breathing or labor). As a stabilizer, the rectus abdominus also supports the trunk and controls pelvic tilt.
transverse abdominis – the deepest muscle layer of the abdominals, the tranverse abdominis is found on the sides of the abdominal wall (underneath your obliques) and helps to activate the core. It is also responsible for stabilizing the lower back and pelvis.
external obliques – The external obliques are located on each side of the rectus abdominis. These muscles are responsible for side-bending and side trunk rotation on both sides of the body.
internal obliques – Located underneath the external obliques (but above the transverse abdominis), the internal obliques are just inside the hipbones. These muscles are the opposing muscles to the external obliques and are responsible for same-side bending and rotation.
Can you work the upper and lower abs?
Technically, there are no “upper” and “lower” abs since the muscles run the length of the torso. More specifically, one muscle cannot be targeted independently of the others.
When most people are referring to the “upper abs,” they are referencing the top most portion of the rectus abdominis. These are more frequently known as the “six-pack” abs exercises.
When people refer to the “lower abs,” they most often are pointing to the lower portion of the rectus abdominus, as well as stabilizers, such as hip flexors and the transverse abdominus.
When people mention “obliques,” the answer is pretty straightforward: external and internal obliques.
When defining your core, this term is more widely used to identify your trunk as a whole, including not just your abdominals, but also the erector spinae (lower back) and lower lats. Creating a strong core is crucial for balance and posture, as well as preventing back pain. For runners, specifically, creating a strong core can lead to greater endurance (making them more resistant to fatigue later in the race), as well as leading to fewer injuries.
For the purpose of this workout, we have divided this basic ab circuit into three rounds: upper abs, lower abs, and core. In each round, ab exercises will focus on engaging the abs in a variety of ways, concluding with a light core workout that helps to strengthen and stabilize the entire midsection.
This beginner ab workout has tons of modifications and challenges listed below to decrease or increase the difficulty of each core exercise to give your body a challenge, even as you grow stronger!
Need a Quick 10-Minute Ab Workout?
We know that often you might not have time for a full 30-minute workout. Shortening this workout into ten minutes makes it easy to add at the end of a workout (we recommend no more than 2 times per week) or an easy workout to do in the morning or before bed. Set a timer and perform each exercise for 30 seconds. At the end of each round, hold a plank for 1 minute.
Want a Cardio Twist?
Looking for more add cardio in your workout routine? Turn this into a HIIT workout by incorporating short bursts of cardio between each exercise.
Set a timer and perform each exercise for 1 minute. Between each exercise, add in your favorite fast-paced ab or core exercise for a cardio burst. This could be: mountain climbers, bicycles, oblique crunches, or even pushups (for a bonus upper body challenge!
Watch the full workout video here.
Subscribe to our Youtube Channel for updates on the latest videos!
Beginner Friendly, At Home No Equipment Ab Workout
Suggested:
5-10 Minute warmup + cooldown of your choice.
Tip:
The goal of this beginner ab and core workout is to challenge the muscles of the abdominals, lower back, and hips in an approachable way. Take your time through the movements and focus on deep breathing and maintaining the engagement in the spine, core and abs throughout each movement.
Increase the difficulty!
Many of these exercises can be made more difficult if you choose to incorporate a set of dumbbells into the workout. As listed above, add in a cardio (HIIT) set to get your heart rate up or challenge your balance and stability.
Need a modification?
If any of these exercises are too challenging for you, scroll down below for a list of modifications to make this workout easier for your level or personal needs.
Abs + Core exercise List
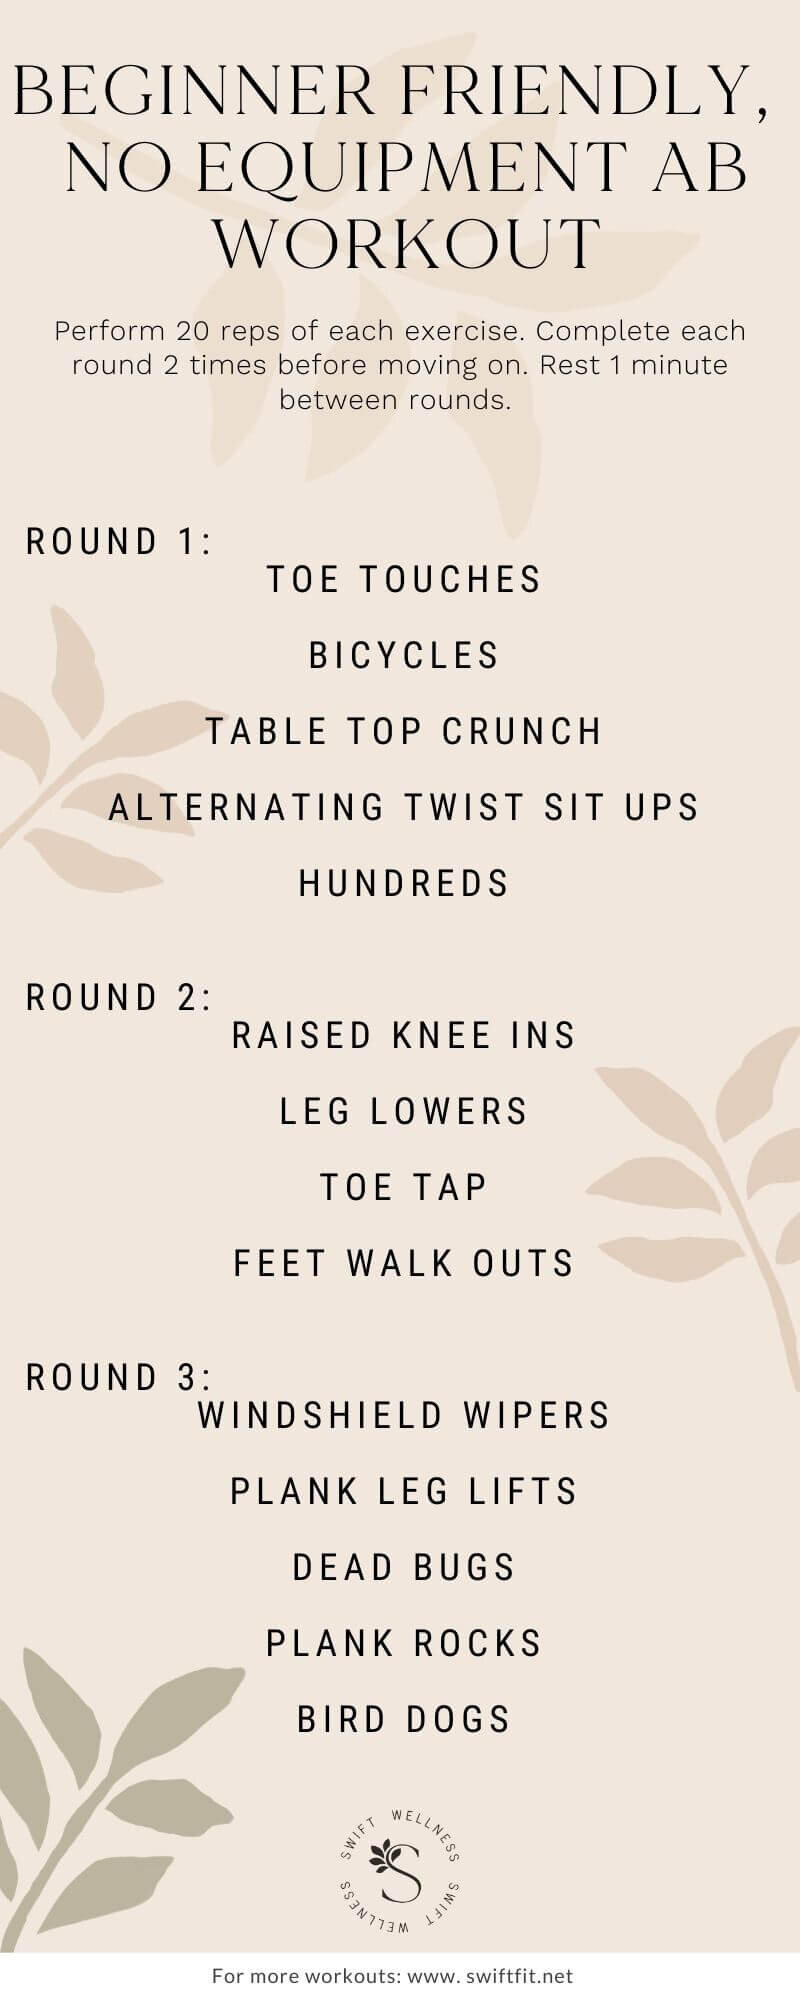
Perform 20 reps of each exercise. Complete each round 2 times before moving on. Rest 1 minute between rounds.
Round 1 - Upper Abs:
Toe Touch
How-to: On your back, extend your legs into the air to be directly above your hips. Roll up, reaching your fingertips towards your toes.
Form tip: Avoid swinging in this movement. While you may likely not touch your toes, it’s important to curl up as far as you can.
Modification: If you need additional support behind your head and neck, place your hands behind to support and crunch up to the ceiling, making sure your chin stays lifted and not tucked into your chest.
Bicycles
How-to: In the same position as the previous exercise, bend your knees, creating a 90 degree angle. Bring your hands behind your head and crunch up, touching your opposite elbow to opposite knee, while extending the other leg long. Come back to center and switch sides.
Form tip: Avoid bringing the knee to meet the elbow. Instead, sit up to bring the elbow to the knee. In this regard, the knee should not pass the hips.
Challenge: Add in a 1-2 second hold at the top of the position when your elbow and knees are touching.
TableTop Crunch
How-to: In the same position (knees bent), place your hands behind your head and crunch.
Form tip: Avoid excess movement in this exercise and focus on breathing, exhaling as you lift the chest up, and inhaling as you come back to the mat.
Challenge: Extend the legs long into a 45 degree angle. Make sure to engage the entire core to prevent the back from arching.
Alternating Twist Sit Up
How-to: Keeping the knees bent, extend the arms long, palms together in one line. As you crunch upwards, “slice” to one side of your body, in a twisting movement. Slowly lower back to the mat and “slice” to the other side.
Form tip: As you crunch upwards, bring your arms as close to the hips as possible, fingertips extending long.
Hundreds
How-to: Keep the same position, with bent knees, arms along your sides. Curl the head and shoulders from the mat, and slowly press the arms down in small quick movements, counting to 100 (or 1 minute).
Form tip: Avoid tucking the chin against the chest and keep it lifted towards the ceiling. Also, it is easy to hold your breath in this posture. Instead, focus on taking long slow breaths as you pulse the arms.
Modification:Bring your hands behind your head for support. Instead of beating the arms, quickly “pulse” with your head and shoulders off the mat.
Round 2 - Lower Abs:
Raised Knee in
How-to: On your back, bend your knees to 90 degrees, directly over hips. Roll your head and shoulders up from the mat. Slowly press the legs away, extending to a 45 degree angle. Bring the knees back in to the starting position.
Form tip: As you press away, exhale; as you bring the knees in, inhale. As you press away, focus on engaging the muscles of the deep abs and core to keep the lower back stable and pressed into the mat to prevent arching.
Challenge: As you grow stronger, extend the legs lower.
Modification: This exercise can be done with your head and shoulders on the mat.
Leg Lowers
How-to: On your back, extend your legs to 45 degrees. Slowly lower down to your lowest point—the point at which you feel that you cannot go lower without your back arching. Slowly raise the legs back up.
Form tip: Continue to breathe throughout this exercise, exhaling as you lower, inhaling as you lift. Engage the abs and core to prevent arching in the back.
Challenge: As you lower, open the legs to draw a circle with your pointed toes.
Toe Taps
How-to: With back on the mat, knees bent, alternate tapping each toe to that mat.
Form tip: Avoid tapping too close to your hips. Reach away slightly to tap.
Challenge: Reaching the toes farther away from the body as you tap will increase the difficulty.
Lying Feet Walk Outs
How-to: On your back, start with your feet on the mat close to the butt, head and shoulders on the mat. Slowly walk the feet out in small steps, until the legs are completely straight or you feel your back arching from the mat.
Form tip: This exercise is only challenging if you take small steps and go through the movement slowly.
Challenge: Lift the head and shoulders from the mat.
Round 3 - Core:
Windshield Wipers
How-to: On your back, bend your knees to 90 degrees, over the hips, head and shoulders on the mat, arms outstretched to either side of the body. Keeping the knees together, twist to one side of your body. Find your lowest point that you can lift the knees back to center.
Form tip: Your arms are pressing into the ground for support. If your arms start to lift from the mat, do not go as low. You want to keep the opposite shoulder on the mat as you twist.
Modification: Keep the movement very small as you go from side to side to prevent over-twisting the lower back.
Plank Leg Lifts
How-to: Start in a pushup position, with shoulders stacked over hands, core engaged, back in one line. Alternate lifting one leg while maintaining the plank position.
Form tip: Engage the core and do not hold your breath. Slowly lift each leg off the mat (height does not matter) without rocking through the hips.
Modification: Hold a plank for two 30 second intervals, with a short break in between. For sensitive wrists, drop to a forearm plank.
Challenge: Add in a rotation, twisting to a side plank, keeping the lifted leg in the air.
Dead bugs
How-to: Lie on your back on your mat, legs bent at 90 degrees. Extend opposite arm and opposite leg long. Bring both back to center and switch.
Form tip: Exhale as you lengthen; inhale as you bring the arm and leg back to center. Avoid letting your back arch by engaging the core and pressing into the mat. Only extend the arm and legs as long as you can go to prevent any arch in the back.
Challenge: Add in a dumbbell for a weighted challenge.
Plank Rocks
How-to: Start in a forearm plank, shoulders over elbows, spine long. In a rainbow motion, rock the hips from side to side, bringing the hip just above the mat.
Form tip: Avoid swinging through this movement, and instead, focusing on creating a rainbow shape. The side of the hip should come just above the mat to get the full rotation through the spine.
Modification: Drop to your knees in this position.
Bird Dogs
How-to: In a quadruped position, shoulders and knees stacked, start by extending the opposite arm and leg. Bring back to center and alternate to the other side.
Form tip: Squeeze the abdominals, keeping the back straight and avoid arching.
Challenge: Bring the knee and elbow to touch for an added crunch.