DIY Project: Rustic Sliding Barn Door + Full Length Mirror
This article may contain affiliate links. As an Amazon and Rewardstyle affiliate, we may earn a small commission for any purchases made through these links. Click here for the disclosure statement.
Barn doors are a great way to add visual interest to a wall while still having a functional purpose. For those following along with our DIY home remodel, our bedroom has been a source of constant frustration from too many doors cutting into valuable space, primarily the bathroom. We decided that we could build a mirrored barn door, to not only function as a full length mirror in our bedroom, but as both a closet door and a bathroom door by creating a sliding track that spanned the length of both doorways.
After scouring the internet and realizing that the majority of full length mirrored barn doors were incredible expensive (many custom barn doors can cost upwards of $1000), we decided to DIY our own rustic sliding mirrored barn door for under $400. While this door was meant for interior use, you could easily use this sliding door for exterior, patio, or garage use.
There are a variety of ways to customize your own sliding barn door (such as a visually interesting chevron pattern!), but these are the barn door guidelines we used for our farmhouse barn door.
Why Have Barn Doors in Your House?
A single barn door can be a great addition to your home when there is limited (or cramped) space. This rolling door can be a cheap way to reduce clutter and open up a room by removing an awkward traditional door that swings in (or out) of your space. Double barn doors can make a dramatic entrance into a dining or living room, while also making a perfect addition to your bedroom decor by acting as closet doors. In this situation, using a barn door for the bathroom provided privacy from the bedroom, but also gave additional room to a tiny space.
DIY Mirror Barn Door for Your Home
A custom barn door, such as this one, can also be a unique feature in your home that not only has functionality, but acts as decor, too. Ever popular in farmhouse decor, this rolling door can also have a bohemian flare when stained with a dark color.
Power Tool Supply List:
(1) - 2 in. Polyester/Bristle Blend Flat Stain and Polyurethane Brush
(1) - Qt. Your Stain of Choice - We used Kona Satin Oil-Based Interior Stain and Polyurethane
(1) - 36” x 60” Mirror
(1) - Barn Door Hardware Kit
(1) Tube Liquid Nail
Frame for Barn Door:
Note: We used pine for our interior barn door. The premium wood means that the boards will be smoother, straighter, and more likely to be free of imperfections, such as knots and splits. For the flat back, we used plywood to keep the door lighter (and make it easier to roll along the track hardware), but you can use a thicker wood if you prefer a more substantial door.
Read More: How To Make Honeycomb Floating Wood Shelves
How to Build the Barn Door:
Note: We built this mirrored barn door to fit the dimensions of our home. The total size of the door is 82” x 41.” Before you begin, make sure to measure your wall height to allow for 1/2” clearance at the floor.
1. Cut the 1” x 3” x 8’ boards into two 60” pieces.
2. Cut the 1” x 12” x 8’ board into two 41” pieces.
Note: These can be cut at home or in-store at Home Depot or your local home improvement retailer.
3. Lay plywood down flat, lining up all parts, including mirror to test fit.
4. If satisfied with positioning, start by attaching bottom 1” x 12” board with four (4) screws in each of the four corners, inset 1.5.”
5. Attach both side 1” x 3” boards with four (4) screws total, two in each board. Each screw is inset 3” from the end of the board, centered.
6. Remove the mirror before screwing in the second 1” x 12” board.
7. Sand the entire barn door frame with 220 grit sand paper before applying stain. This will remove any large defect, dust, or rough spots in the wood and all the stain to go on evenly.
8. Stain entire barn door except the backing where the mirror will go. Allow stain to dry.
9. Lightly sand the stained wood before applying the second coat. This will even out the finish from the previous coat and allow the next level of stain to absorb more richly.
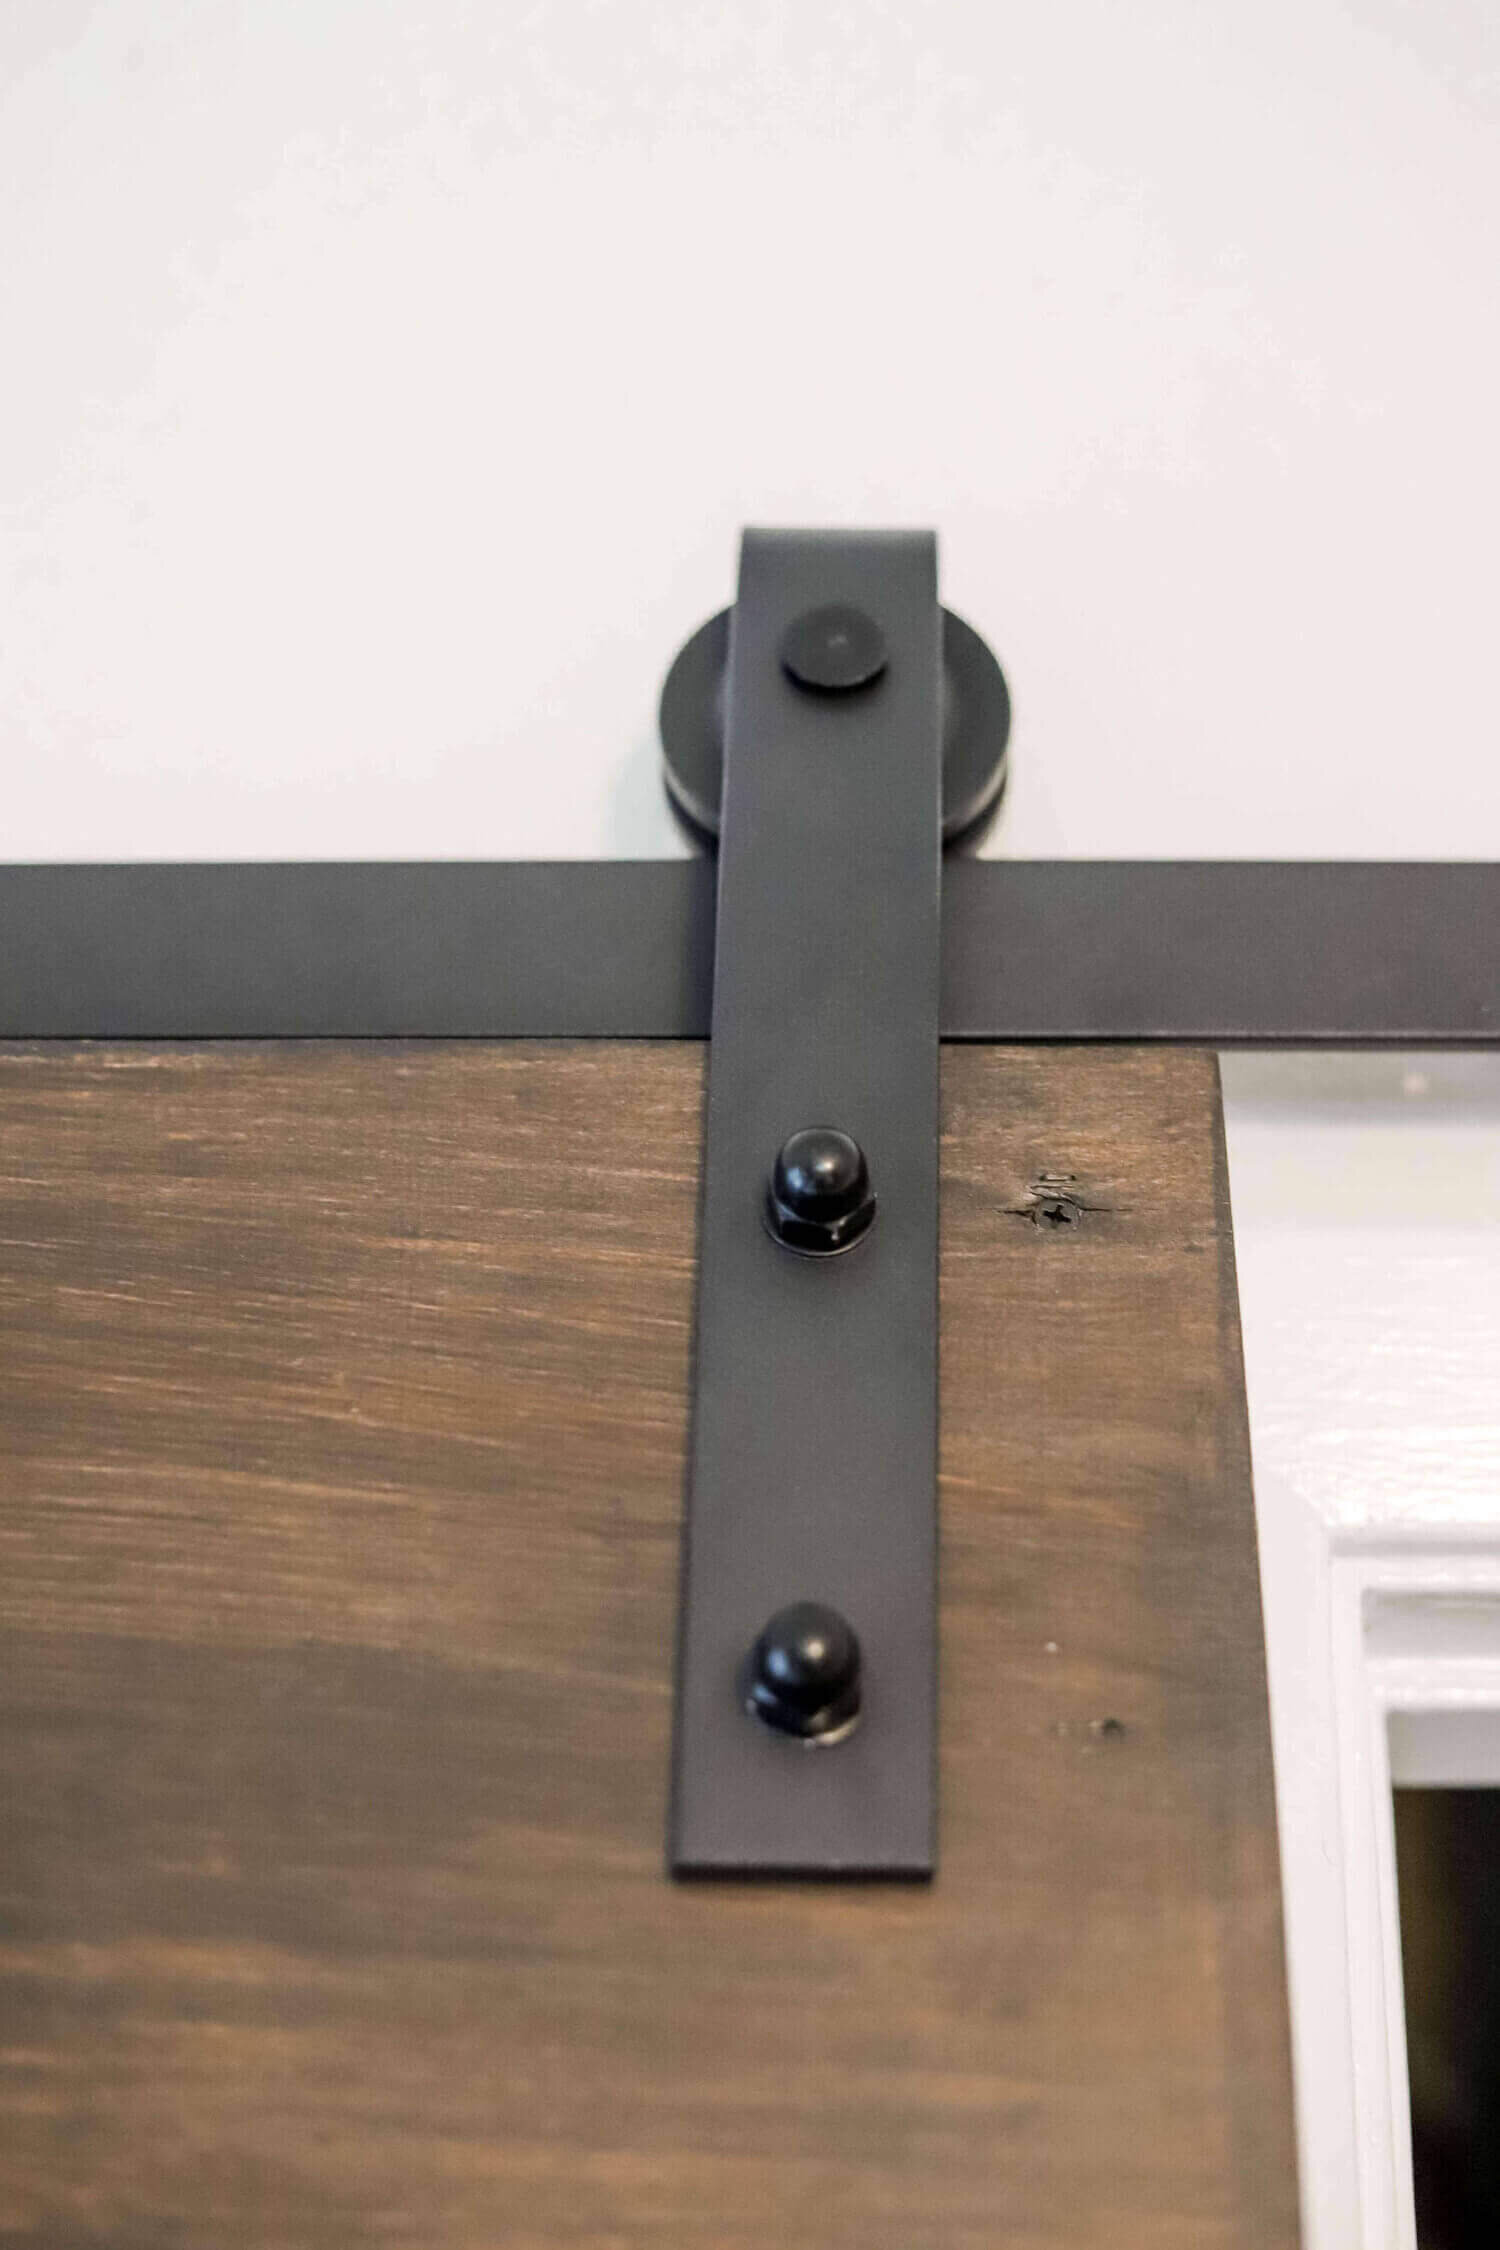
10. Attach barn door hardware as instructed. We were extremely happy with the quality of hardware we purchased from Amazon, however, if searching for cheaper barn door hardware, make sure that it is rated for the weight of door that you are looking to hang.
Note: Barn door hardware must be attached into wall studs to prevent pulling out from the wall. (We had to modify our barn door hardware to account for the door trim. We replaced the stock bolts from the hardware kit with shorter bolts to countersink them .25” to clear the door trim.)
11. After track is mounted, it is time to add the mirror.
12. Using the entire tube of Liquid Nail, with a crosshatch pattern, apply to unpainted plywood. Lay barn door flat on the ground, and carefully press mirror into the glue. Allow at least one hour to dry.
13. Once dry, hang the mirror to enjoy!
For this DIY project, since the sliding barn door is in our bedroom, we used a soft close hardware to prevent the door from making noise as it slides on the track. Don’t be suspicious of this cheap DIY barn door hardware. This rolling track is a high-quality and heavy piece and we were highly impressed with the quality!


